
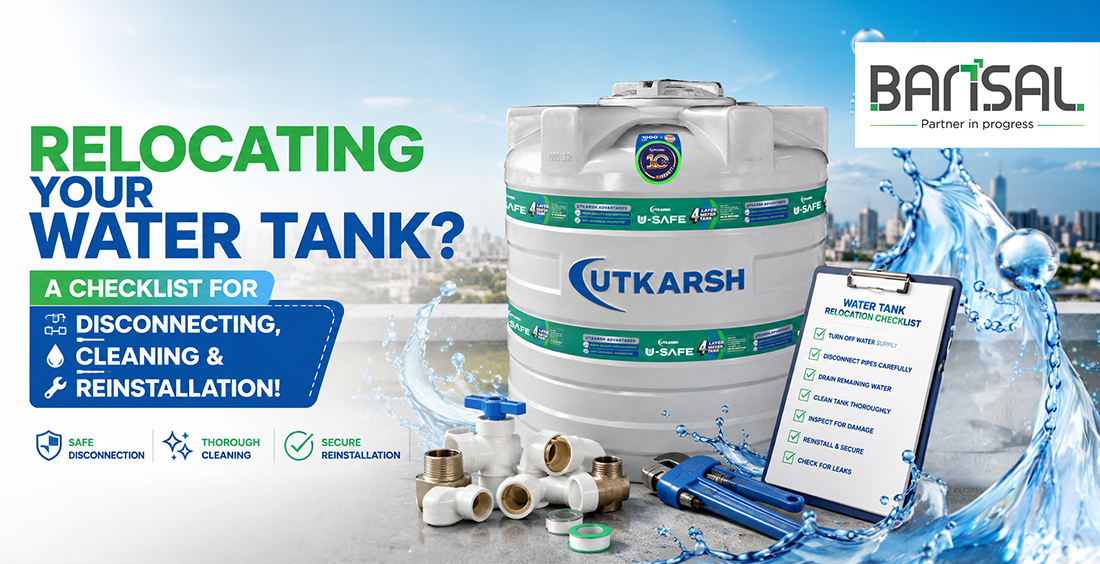
Relocating Your Water Tank? A Checklist for Disconnecting, Cleaning & Reinstallation!
Posted on: Sep 16, 2026
Moving a water tank is more involved than simply shifting it to another location. If you're renovating your home or changing your rooftop plumbing, the tank needs to be disconnected, cleaned and transported with care. A little preparation can help prevent damaged fittings, leaks and installation problems later.
Before you begin, check the tank's condition, plan the move and make sure the new location is ready. Here's a practical checklist to help you manage the process safely.
Phase 1: Pre-Shift Inspection & Safe Disconnection
Before moving the tank, inspect both the tank and its existing support. If you're considering the best water tank in India, remember that a good product also needs proper installation and maintenance to perform well over time.
Look for cracks, bulges, damaged fittings and signs of leakage. Check the supporting platform for uneven surfaces, loose masonry or other visible damage. If the tank or platform appears unsafe, get it assessed by a qualified professional before attempting to move it.
The next step is water tank isolation. Turn off the water supply and drain the tank completely. Never try to lift or disconnect a tank that still contains water, as even a partially filled tank can be extremely heavy.
Once the tank is empty, close the relevant valves and identify the inlet, outlet, overflow and drain connections. A plumber should disconnect the pipework carefully, particularly where threaded fittings are involved. Labeling the connections can make the final reinstallation much easier.
If the tank is on a rooftop, check whether the new location can safely support the tank when it is full.
Phase 2: Deep Cleaning & Sanitization Before Moving
Relocation is a good opportunity to clean the tank properly. Over time, sediment, sludge and mineral deposits can collect at the bottom and along the inner walls.
Empty the tank and remove any loose deposits. Use a soft brush and a non-abrasive cleaning method to scrub the interior, paying attention to the base, corners and outlet areas. Avoid harsh chemicals, metal scrapers or anything that could damage the tank's inner surface.
If the tank has an inner lining, inspect it for cracks, peeling or other signs of wear. Any damage should be checked before the tank is used again.
For food-grade tank cleaning, choose products suitable for potable water storage and follow the manufacturer's instructions. Rinse the tank thoroughly to remove any remaining residue. Sanitization should also be carried out using a method appropriate for the tank and drinking-water application.
A trusted water tank manufacturing company can offer guidance on suitable cleaning products and maintenance practices based on the tank's material.
Phase 3: Safe Transportation & Handling Protocol
An empty tank is easier to move, but it can still be damaged by rough handling. Before starting, clear the route and remove anything that could obstruct the movement.
Use suitable lifting equipment and follow the manufacturer's handling instructions. Never drag the tank across a rough surface or lift it by the lid, pipes, valves or other fittings. These parts are not designed to carry the tank's weight.
Protect the tank from sharp edges, construction debris and sudden impacts. Keep it upright wherever practical, and use appropriate support during transportation.
A heavy-ribbed design may provide additional rigidity, but it does not make a tank immune to damage. Once the tank reaches its new location, inspect it for cracks, dents, distorted fittings or lid damage before proceeding with installation.
Phase 4: Reinstallation & Structural Support Checklist
Prepare the new location before bringing the tank into position. The tank should rest on a firm, level and adequately supported base. A flat civil base helps distribute the load evenly and reduces unnecessary stress on the tank's bottom.
Remove loose debris and check for sharp projections or uneven areas. Avoid makeshift supports or unstable platforms. The base must be strong enough to carry the weight of the tank when it is full.
Position the tank according to the installation instructions, leaving enough room for cleaning, inspection and access to the lid. Reconnect the inlet, outlet, overflow and drain pipes carefully.
Correct pipe alignment is important because excessive pressure from unsupported or misaligned pipes can damage the tank's fittings. Provide suitable support for the plumbing wherever required.
Check that the threaded lid fits properly and that its sealing arrangement is intact. If the tank design includes an air vent, make sure it is installed correctly and remains unobstructed.
After reconnecting everything, fill the tank gradually. Check the base, fittings, valves and pipe connections for leaks or movement. Complete these checks before returning the tank to regular use.
Why Relocating Proves the Value of Bansal Poles Private Limited Tanks
Relocating a water tank highlights the importance of sound construction, suitable fittings and proper installation. A well-maintained tank can be easier to handle during maintenance or a planned shift, provided the manufacturer's instructions are followed.
Bansal Poles Private Limited offers water storage solutions for different installation requirements. When choosing a tank, consider its material, capacity, construction, fitting compatibility and maintenance needs—not just its price.
If you're planning a new installation or replacing an older tank, explore the Bansal Poles Water Tank range. For an existing tank that needs to be relocated, consult the manufacturer or an experienced installer to determine whether the tank is suitable for the move.
Conclusion
Relocating a water tank becomes much easier when each stage is planned in advance. Inspect the tank and its support, isolate the water supply, disconnect the plumbing and clean the tank before moving it.
During transportation, protect the tank and its fittings from damage. At the new location, use a strong, level base and reconnect the pipework without placing unnecessary pressure on the tank.
If you're searching for the best water tank in India, choose a product that suits your storage needs and installation conditions. Explore Bansal Poles Private Limited water tanks and plan your next water storage project with confidence.
Frequently Asked Questions
Yes, a water tank may be relocated if its condition, design and installation allow safe handling. It should be emptied, inspected and moved using suitable equipment. Damaged tanks should be assessed by a professional first.
Turn off the water supply, close the relevant valves and drain the tank completely. Disconnect the plumbing carefully, preferably with help from a qualified plumber.
Remove sediment, scrub the interior with a soft brush and rinse thoroughly. Use only cleaning products suitable for potable water storage and follow the manufacturer's instructions.
A water tank manufacturing company can provide guidance on handling, compatible fittings, cleaning methods and installation requirements. This can help reduce the risk of damage during relocation.
Yes. A firm, level base distributes the tank's weight more evenly and helps reduce stress on its bottom. The platform must also be strong enough to support the tank when full.



Comments (0)
Post Your Comment